Introduction
Inkspace is the one of most popular 2D graphic freeware with the "vector" basic. All that you need to create a graphic are available here.
1. Flower in the pot and the shadow
1st Step (make a flower)
a. Create the circle form with "circle creator" tool (F5), hold "ctrl" on your keyboard to make a symmetric circle
a. Create the circle form with "circle creator" tool (F5), hold "ctrl" on your keyboard to make a symmetric circle

b. Make a duplication (ctrl+D) for the circle form, and then move this one to side of the first circle
c. Duplicate the circle till six around the center circle

d. Select all circle exclude the center circle (shift+left click to the six circle)

e. Go to the path > union

f. Colorize with orange (or your own color)

g. Send to backward (Pgdwn in keyboard), till the center circle up and colorize it with yellow

h. Optional (erase the outline to get the natural picture). open the "Fill and stroke"task bar (Shift+ctrl+f), and click "none" (x) in the stroke paint tabs.

Its Done!
2nd Step (Make a leaves)
a. Create the square form using rectangle and square tools (F4) in the tool box. click and drag to the right-bottom. Colorize with green.

b. Edit the vector using "edit paths by node" tools (F2) in the tool box and click "convert selected object to path" in the "tools control bar".

c. Delete the node in the top-left corner with click this point and push the delete key in the keyboard

d. Do this action for the bottom-right node and click the "show the bezier handles for selected node"in the "tools control bar". Screen will looks like this.

e. Click and drag the upper node (shown with "show the bezier handles for selected node") to the right-bottom and than click and drag the bottom node (shown with "show the bezier handles for selected node") to the right-up. do this action till the graphic looks like the leaf.

f. After finish the step "e", change the cursor with "select and transform object" tool (F1)
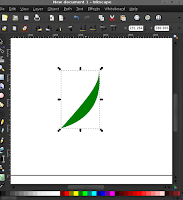
g. Make a duplication (CtrlD). Resize and rotate the duplicate image.

h. do this action to get more leaves.

h. Duplicate this image and "mirror" with "fill selected object horizontally" in the "tools control bar".
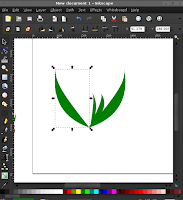
i. do this action for the other image
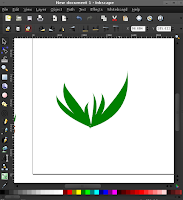
Its done!
3rd Step (Make a Pot)
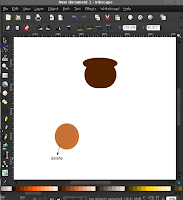
a. Create an ellipse form using "create circle, elips and arcs" tools (F5). click and drag but don't hold the "ctrl" in the keyboard (ctrl can make the symmetric circle). Colorize with brown.

b. Create the square (Colorize same with the ellipse), put the up side into the center of ellipse

c. Edit the square to change the corner from acute angel to the obtuse angel. Use "edit path by node" tool (F2), click and drag the node in the top-right corner (node that using the circle symbol) to the bottom.
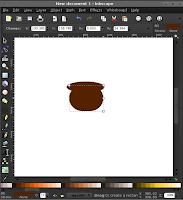
d. Highlight in the pot. Create the symmetric circle, colorize with brown, (more bright than the pot color)
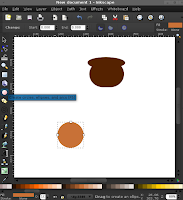
e. Duplicate the circle for highlight, move it a little to the left.

f. Select the both of circle, and go to the "path" (in the command bar) and click "division". Delete the big circle. the result in the picture b.
(a) (b)
g. Move the path to the right side of the pot. You can resize and rotate it to suit with the pot size and form.

h. Duplicate the highlight, resize it and move up (see the picture)
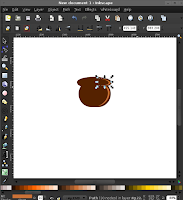
Its Done!
Last Step
a. Combine the Flower, Leaves and Pot that you have created. Make a line using "draw free hand line" (F6) to make a stem and connector between flower, leaves and pot.

b. Set the line size using "fill and stroke" (Shift+ctrl+F), so that the stem size balance.

c. Make a Shadow. Group all path wit select all path and than go to object>group

d. duplicate this group and rotate it (see the picture).
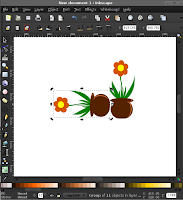
'
e. Go to the "fill" tabs in the "fill and stroke" (shift+ctrl+F). Set the color black and decrease the "opacity" to the 50%.
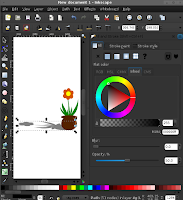
Its Done!



0 komentar:
Posting Komentar